

Regions and Alerts
The Eagle Eye Networks VMS allows an unlimited amount of regions and alerts per camera. These can be added by opening camera settings and selecting the motion tab. In this example, a region named Entry-Exit is shown with separate motion sensitivity from the overall motion sensitivity of the image. An overview of motion settings may be found here.

Master Motion Sensitivity is the overall level of sensitivity to objects moving anywhere in the entire image from camera. The default setting is 80 and will trigger a recording for anything that moves within the camera image. Master Motion Object Size is the overall size of any single object that will trigger motion. The size choices are small, medium, and large, which are 1%, 5% and 10% of the size of the overall camera image.
Regions can be used to adjust when a camera records full video. Adjusting the motion settings with regions will help to find areas of interest much faster and also help reduce bandwidth usage.
To add a new region, click the yellow “+” icon. Clicking anywhere in the list of Regions/Alerts will automatically select a region and make it editable.

If an alert is enabled, the alert symbol shows as green.Clicking the alert icon will show the alert settings. The alert icon or the up arrow will hide the alert settings. If there are multiple regions, any region can be selected by clicking the alert icon on that region and the alert settings will be displayed.

An “undo” icon will appear for each region that has been edited but not yet applied. Clicking the undo icon will revert the changes.
To save and see the results of edits without closing the motion settings, click the blue “Apply” button at the bottom of the motion settings dialogue. Until the settings are applied, the results are not seen in the preview window. Once the settings are applied, all “undo” icons will disappear. Selecting apply saves the settings and allows continued editing on any tab within camera settings.

To enable an alert, click the alert icon which will open the alert settings. Select the checkbox to enable the alert and adjust the settings as desired. Click apply to save the alert and continue editing or click save changes to save all and close the camera settings dialogue.

Regions and alerts can be added and edited quickly and efficiently.


Since 2012, Eagle Eye Networks has provided smart cloud surveillance solutions, leveraging AI to drive natural language search, automation, and more. Eagle Eye’s camera-agnostic approach heightens security while saving money, time, and resources.
Other posts that might interest you

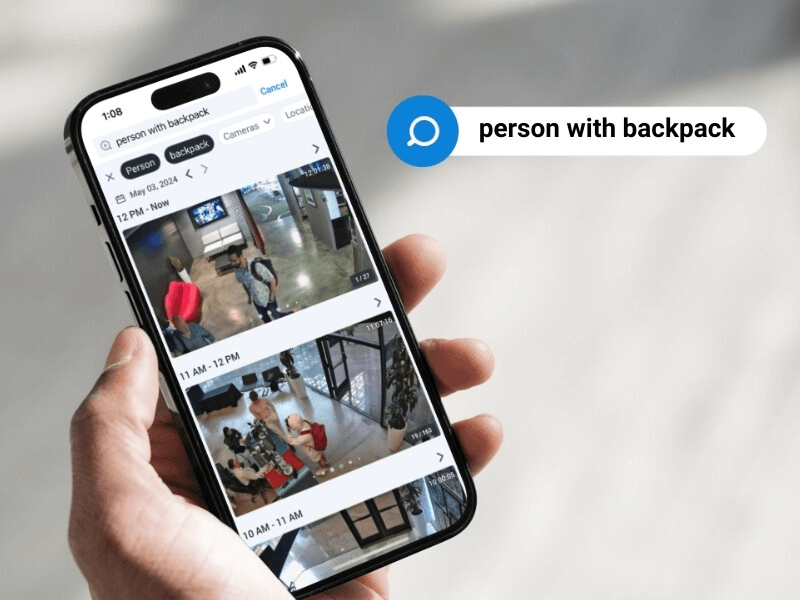
5 Cutting-edge AI technologies for video security
Every year seems to be “the Year of AI,” but this time, it seems to be actually true. And the benefits of this incredible new technology can be seen in…
May 14, 2024
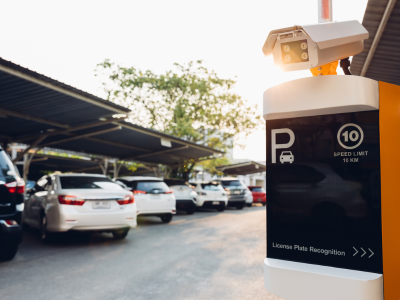
How License Plate Recognition provides a seamless and safe parking experience
To run a parking operation successfully, you need to know what is happening in your lot or garage at all times and meet your visitors’ expectations for a seamless parking…
May 13, 2024
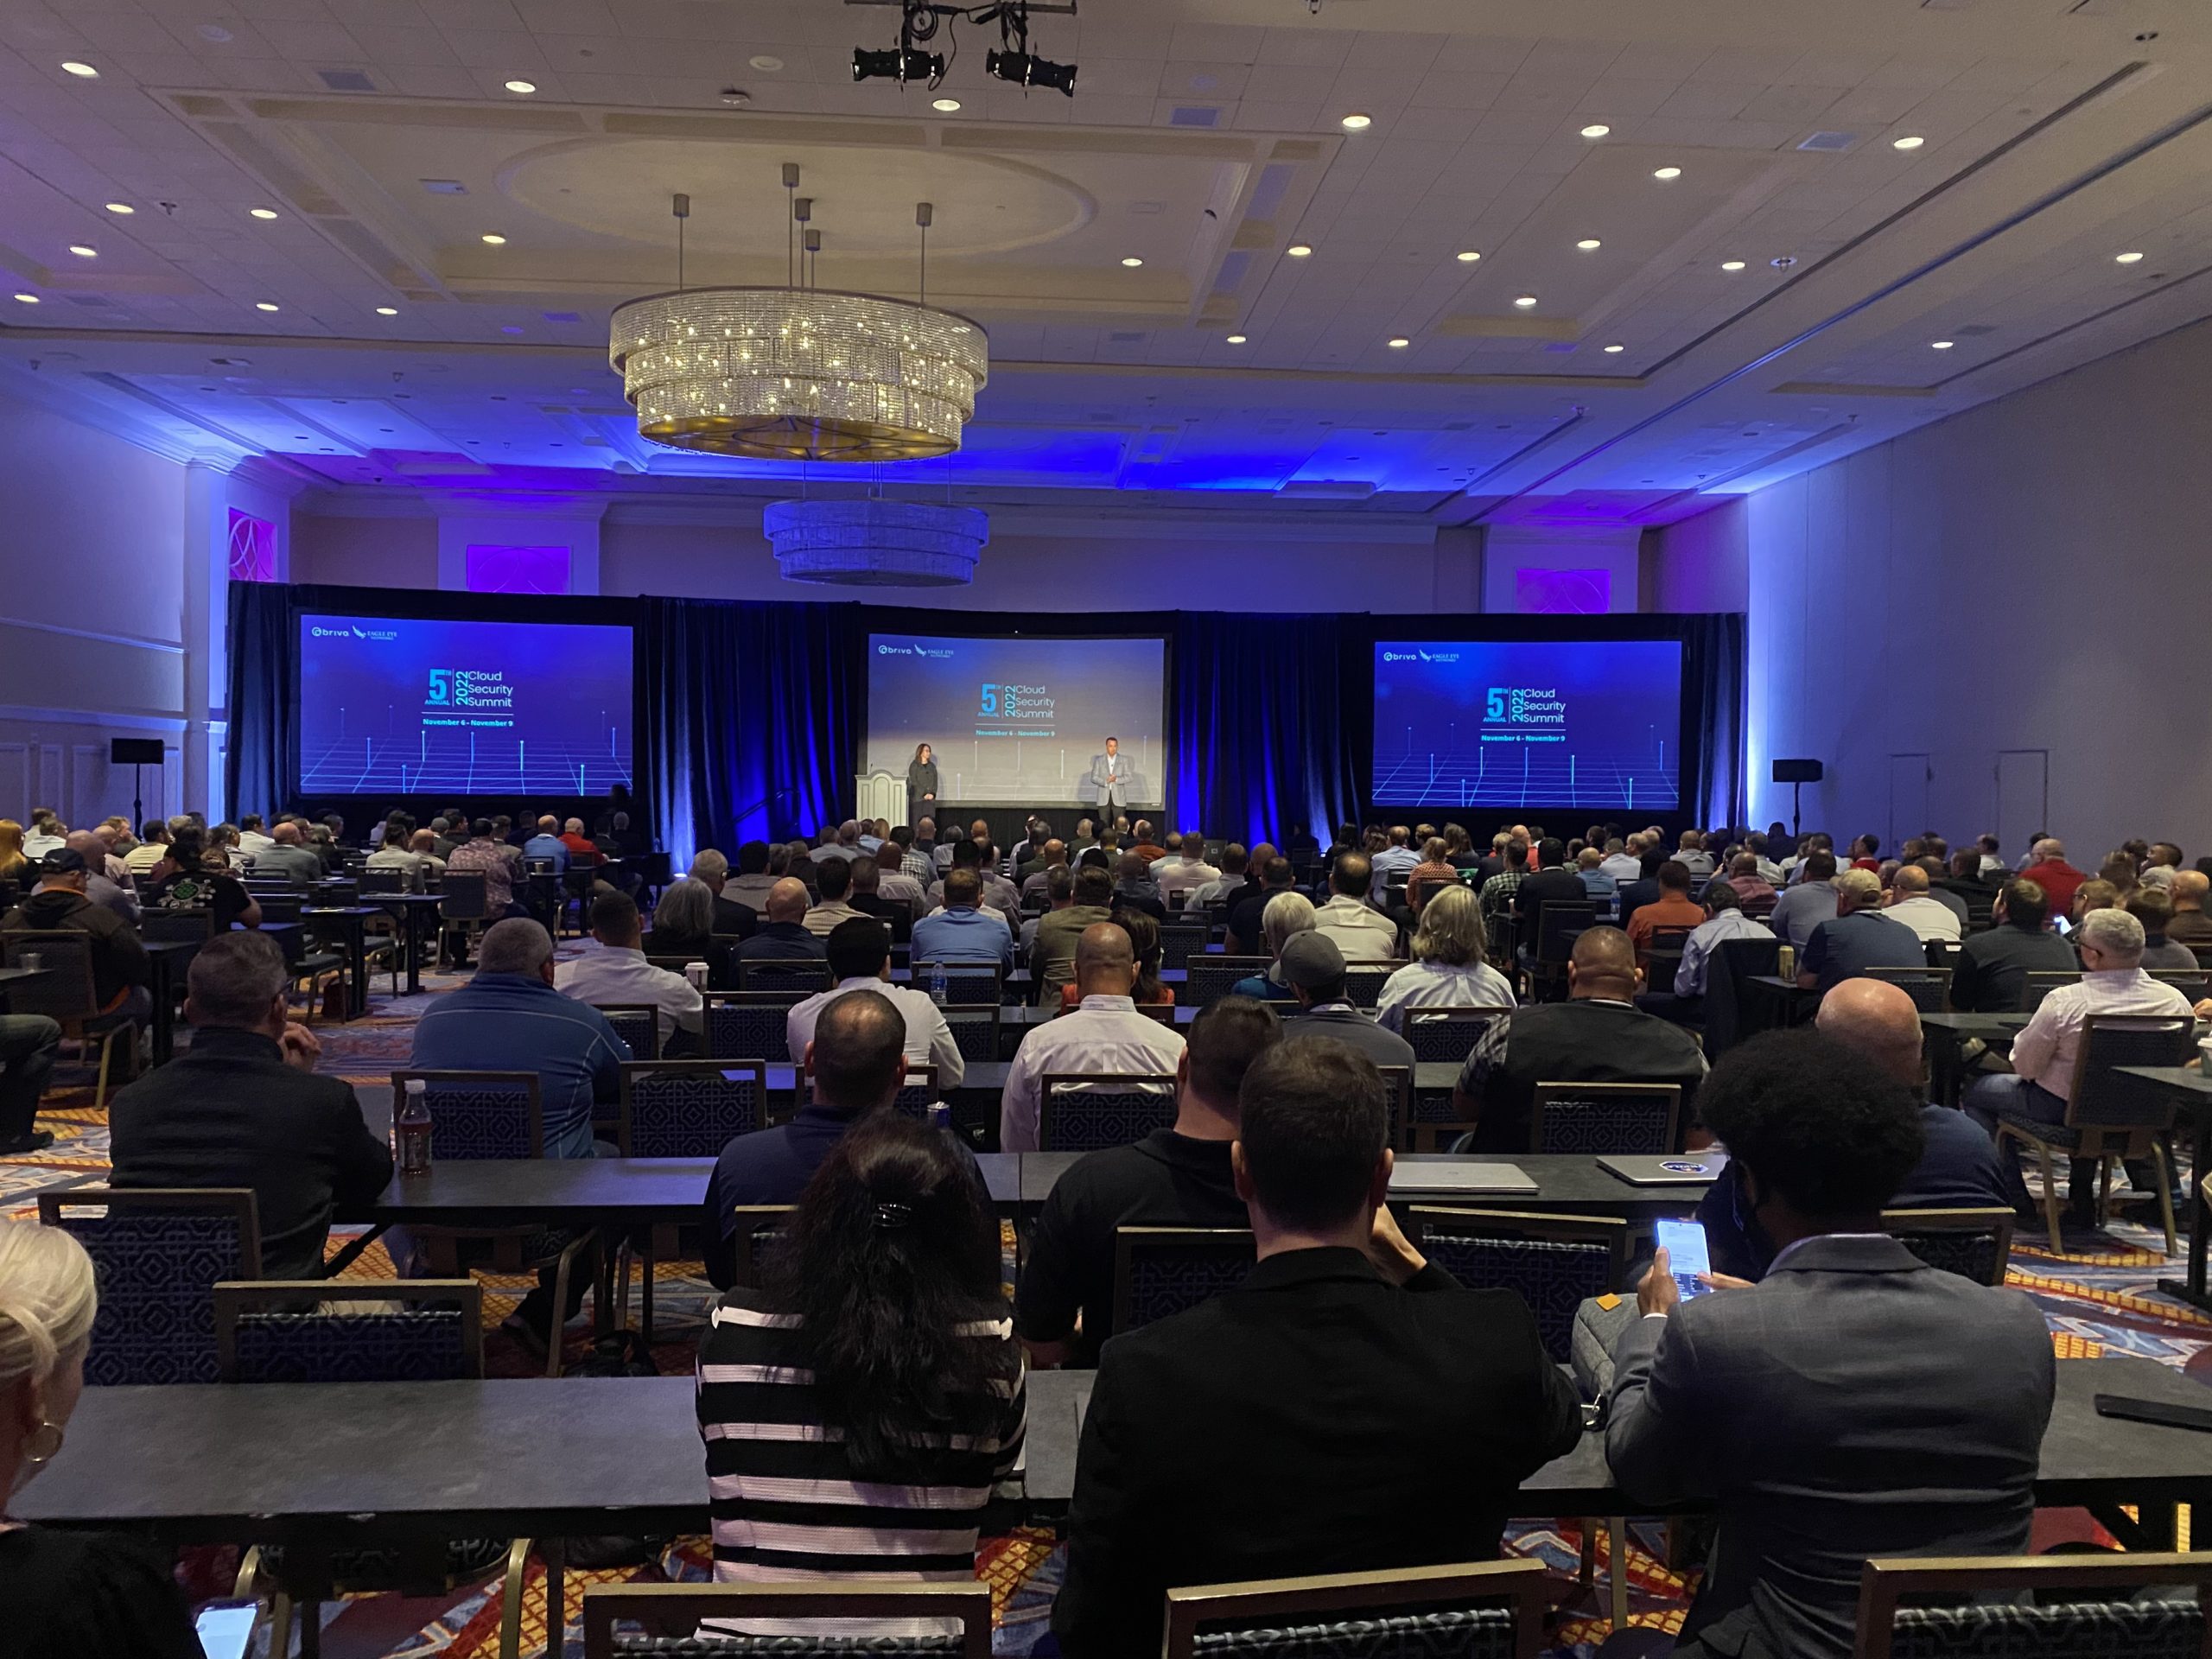
Cloud Security Summit Sets Attendance Record
Over 300 Eagle Eye Networks and Brivo reseller partners attended the 5th annual Eagle Eye Networks and Brivo Cloud Security Summit, setting an attendance record for the annual conference. The…
November 9, 2022