Product of the Month: Video Surveillance in the Cloud with Eagle Eye Networks
June 18, 2021

June 18, 2021
Eagle Eye Cloud VMS is a cloud-based management system for surveillance cameras. It enables the configuration and updating of cameras, the management of live streams as well as recorded videos and can be used via browser as well as via mobile apps. We took a look at how a video surveillance solution based on Eagle Eye Cloud VMS is put into operation and how the daily work with it proceeds.
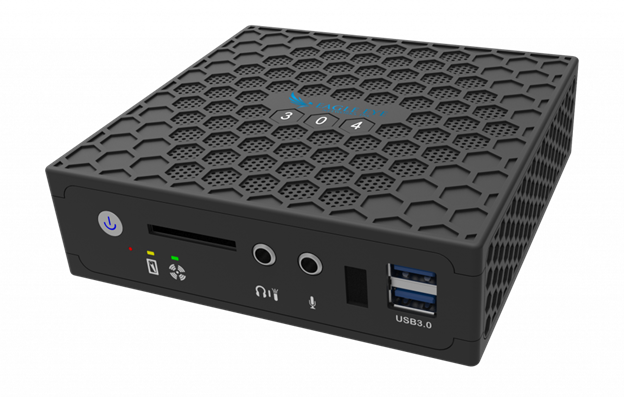
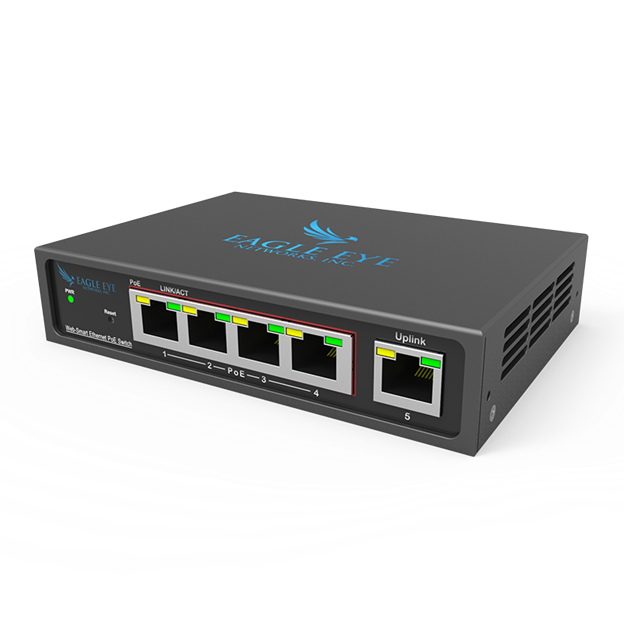
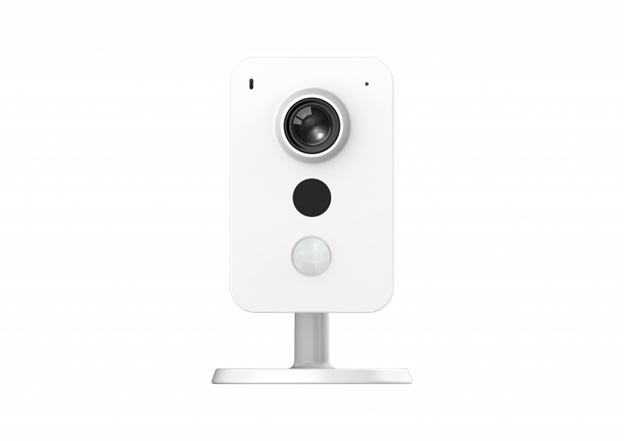
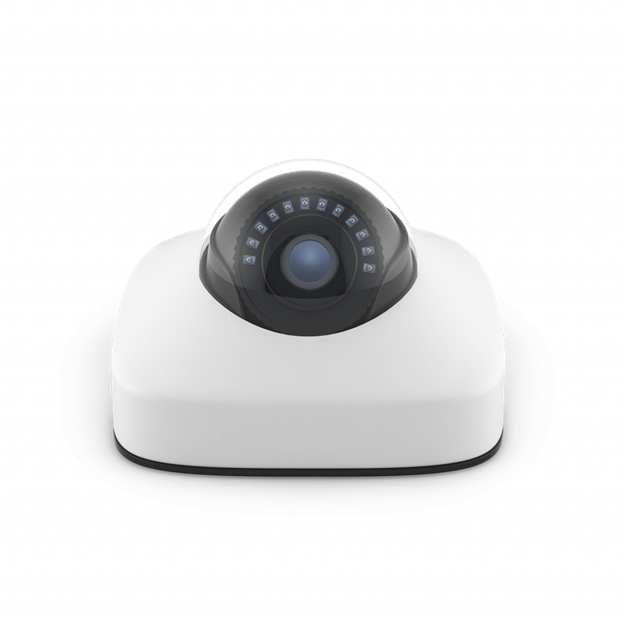
For the test, Eagle Eye Networks provided us with a Bridge type “Bridge 304“, a Switch type “SW05m” and a total of four cameras. The cameras were the WLAN-capable indoor camera “ENi-CCUC-002a“, the PoE-operated outdoor camera “ENi-CDUM-007d” and two, also PoE-capable, outdoor cameras of the type “EN-CDUM-008a“.
In operation, the Bridge (running a customized Linux operating system) handles the communication between the cameras and the Cloud. For this purpose, it provides two GBit Ethernet ports, one for a dedicated camera network, the other as a WAN port. In this way, it is relatively easy to operate the cameras in a separate network, which can significantly increase security in corporate IT. The Switch, which we connected to the camera network port of the Bridge in the test, offers four PoE-capable ports for connecting cameras in addition to an uplink port. Since the camera network was preconfigured as a DHCP segment and the cameras came as DHCP clients, it was sufficient in the test to simply connect the cameras to the Switch. We were then able to manage them directly from the Cloud once they were booted up. By the way, Eagle Eye Switches with more PoE ports are also available for larger environments.
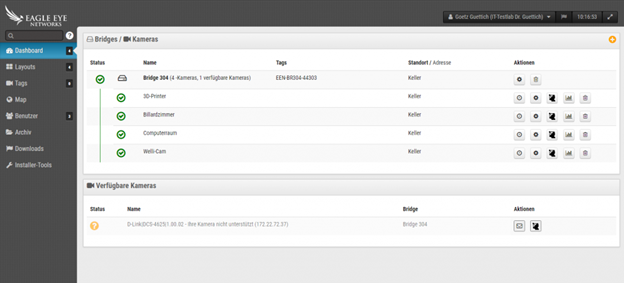
If for some reason it is necessary to operate a camera in the normal corporate network, for example because it cannot be addressed in any other way at its position, this is also possible: The Bridge not only scans the camera network for compatible cameras, but also the network connected to the WAN port. Although the manufacturer does not recommend such a configuration for security reasons, it works perfectly. For example, the Bridge found a D-Link DCS-4625 camera in our production network that had been active for some time and integrated it into the interface.
Setting up the System
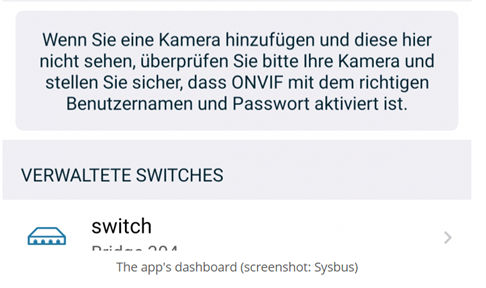
In addition to the hardware, we also received a test account for the Cloud VMS web interface from Eagle Eye. After installing the hardware and assigning a password for the management account and logging in, we were able to first add the Bridge in the dashboard of the web interface. Here’s how it works: After we switched to our test account, the Bridge already appeared in the list of devices belonging to the account. All we had to do was click on the plus symbol at the top right and then we could enter the “Attach ID” that Eagle Eye had previously provided us with and give the Bridge a name. After that, the device became active in the account and first performed a firmware update.
The next step was to add the Switch. This appeared, just like the connected cameras, in the device overview of the dashboard after the Bridge was set up and could also be added via the plus symbol. Essentially, during Switch configuration, the responsible staff can specify via the web interface which PoE ports should be active and which should not. By the way, there was no need for any further information, such as entering an “Attach ID”, as the Switch came as a pre-configured device and could therefore become active directly in the connected Cloud.
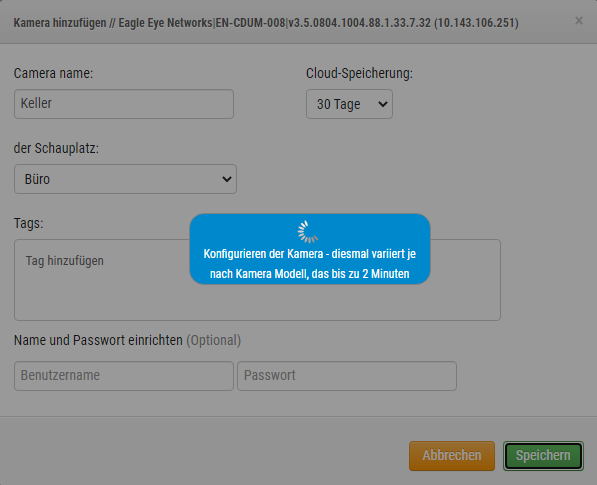
In the last step, we added the cameras. Since these were also pre-configured, this went just like the Switch and took about two minutes. This meant that the whole system was up and running in no time at all and we were able to start working.
The configuration of the monitoring system
To begin our work, we set out to configure the monitoring system to meet our needs. To do this, we first enabled system notifications and alerts in the account settings (the system supports email and push notifications). We also enabled – also in the account settings – the “weekly cloud video monitoring summary”. Apart from that, we also set the correct time zone in the same place.
After completing the account settings, we turned to configuring the devices. The device overview contains all Bridges, Switches and Cameras available in the system. In the case of the Bridges and Switches, you can adjust the configuration of the individual components here, and in the case of the cameras you can also view the recorded videos, look at the data collected by the analysis functions (more on this later) and access the web interface of the cameras directly. The latter also works with cameras that the Bridge recognizes but are not compatible with the Cloud system, like our Dell Camera mentioned earlier.
Working with the Bridge
Let’s first go into detail about the configuration options of the Bridge. In addition to the name of the device and the time zone to be used, these also include the option to set a default bandwidth for transferring videos to the Cloud.
In addition, the corresponding window also shows the IP address of the Bridge. Unfortunately, you can’t customize it via the web interface, you have to connect a keyboard, a mouse and a monitor to the Bridge and do the IP configuration directly via the local Linux configuration tool.
Apart from that, the web configuration tool lets you specify the location of the Bridge, view various metrics on throughput and memory, and configure the local display of the Bridge. By local display, we mean that the Bridge displays the images from the cameras either locally on the LAN or directly via a connected monitor, eliminating the need to access them via the Cloud.
The Camera Settings
As far as the configuration of the cameras is concerned, the responsible employees have the option to give a name to the respective device and to set the time zone. Apart from that, they can also determine when the camera should be active and what the access data are, as well as view the camera model and firmware. In addition, it is also possible to assign “tags” with which several cameras can be grouped. The number of tags is not limited and allows very flexible configurations.
Under “Storage duration”, the responsible parties specify how long the videos are to be kept in the Cloud. The default here is 30 days, but other values, between zero days and five years, can also be set.
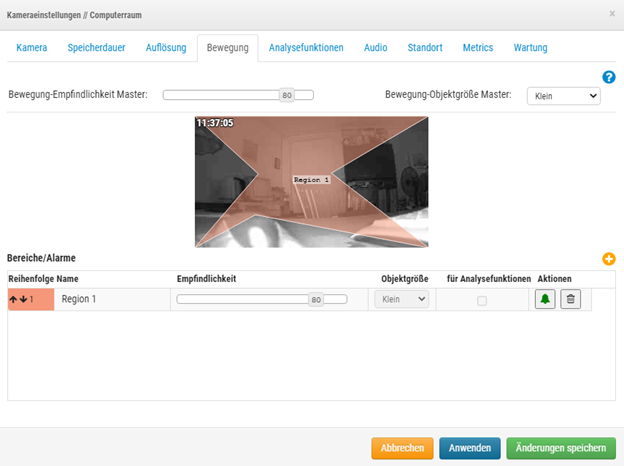
Other settings deal with resolution for preview videos and recordings, motion detection and areas where it should be valid, enabling audio recordings, and location details. Apart from that, it is also possible at this point to reboot the camera via the PoE Switch and view metrics on data transfer and memory usage.
Again briefly to the resolution: The preview refers to the image that the system displays within the overview of the individual cameras. This only gives a rough overview of what’s going on and, to save capacity, comes with a low frame rate and resolution. Eagle Eye recommends one frame per second and 320 by 240 pixels. If an event then occurs, such as motion detection, the camera switches to record mode. A resolution between 640 x 360 and 2592 x 1520 pixels can be selected here (in the test, we opted for HD resolution with 120 x 720 pixels). It is also possible to set the bit rate for the transmission. Settings between 1000 and 4000 kilobits are available for this purpose. So it is quite possible to store high quality videos in the Cloud.
The Analysis Functions
The analysis functions offered by Eagle Eye’s Cloud solution are particularly interesting. These enable very extensive monitoring and flexible alerting. In this context, the counting function should be mentioned first. It is used to count objects that cross a certain line. This can be used to count people and cars, for example. The meter reading is taken daily. This worked perfectly in the test.
The “Line Crossing” detects when an object crosses a line. Notifications can be generated and the direction of the crossing can also be specified. This also ran without problems in the test.
The “Intrusion Detection” generates an alarm when an object enters a prohibited area, which can be of any size and shape. In contrast, the “Loitering” mode generates an alarm when a moving object stays in a previously defined area for a certain period of time.
Last but not least, the system also has “Manipulation Detection”. This detects when someone tries to block the image from the camera or when the image is changed significantly and sends a warning.
Insight into layouts
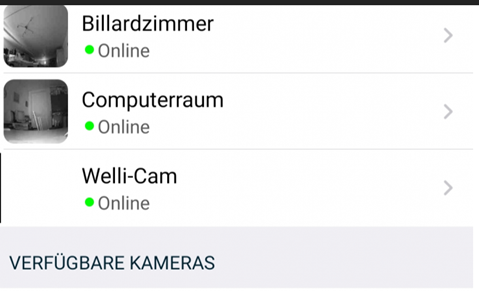
The preview images of the cameras can be viewed with the help of the layouts. It is possible to select any cameras, for example “All cameras” or only indoor cameras or only outdoor cameras and so on. A green point within the preview image indicates that a recording is currently taking place. There is also the option of accessing the live image from the cameras and viewing the recordings. For the latter function, users have to click on the little clock that appears in the top right corner of the camera preview. In addition, it is also possible at this point to access the analysis functions that are active on the camera (such as the object counter), to save the current image and to adjust the camera configuration.
Working with the history view
The view of the recordings of a camera contains a timeline in which the points in time at which a video was recorded (e.g. due to motion detection) are marked in blue. You can scroll back and forth in the timeline and always see the currently active preview image. It is also possible to search the history (e.g. with pictures from the last five minutes and a search for videos ).
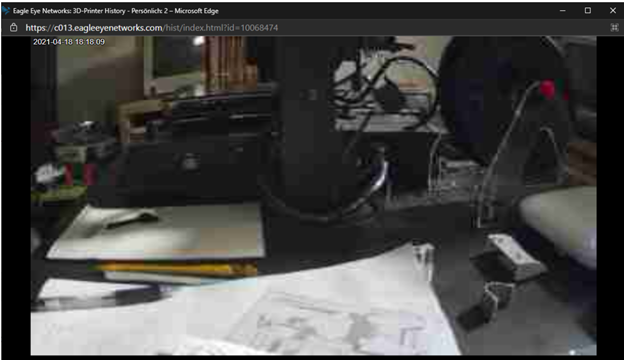

In addition, you can use the history function to view the recorded videos, save individual images from them and download the videos or save them in an archive in which they are available in the cloud but are not deleted.
The rest of the functionality of the system is quickly explained. Under “Tags” the cameras are arranged according to tags, the map shows where the cameras are located and the user administration enables the creation of user accounts with different rights. Access can be restricted to certain times, cameras and layouts and there is also the option to make individual configuration areas accessible or to prohibit them. All users are always allowed to watch and download videos, but administrator access as well as the configuration and use of user management, bridges and cameras, layouts and the archive can be configured for each user account.
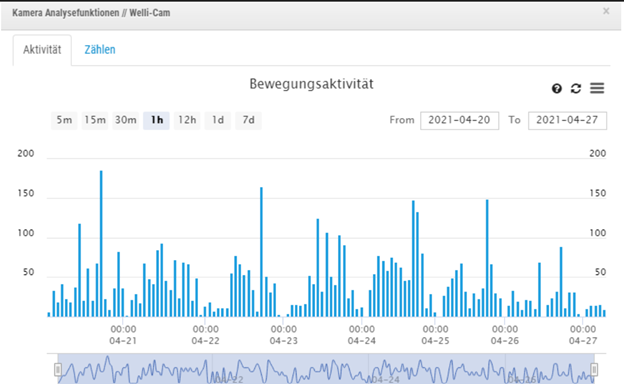

The archived videos just mentioned can be found in the archive, and the videos previously requested can be downloaded from the download page. The “Installer Tools” show, among other things, which cameras have motion detection and analysis functions active, provide information about the camera models used and provide information about the switch-on time (this means the time in which recording is made) of the individual cameras. This allows you to help solve the problem, for example a camera is always recording, perhaps the motion detection was configured incorrectly (i.e. too sensitive).
The app
For mobile use of the video surveillance system, Eagle Eye also provides an app for Android and iOS that has practically the same range of functions as the web interface described. This turned out to be very useful in our test. At the time of the test, version 7.8.0 of the app was up-to-date, and we strongly recommend that you use it, as we had a few problems with the stability of the previous version in the test.
Conclusion
In the test, the Eagle Eye Cloud VMS made a very good impression. The latencies remain surprisingly low for a cloud-based video service and were usually a few seconds during operation. The scope of services such as the counting function, intrusion detection and the like are convincing and the web interface was designed to be easy to understand and should hardly pose insurmountable obstacles for anyone.

However, the way the manufacturer handles firmware updates is a bit strange. While the bridges automatically receive their updates directly from the cloud, the cameras are only updated by Eagle Eye support when required. The manufacturer justifies this with the fact that the cameras run in a dedicated camera network and therefore do not represent a security gap. He’s certainly right, but it would still be nice if new firmware releases were offered for download on a website, with which users who are forced to use one or more cameras in a normal LAN are given the opportunity to use these cameras themselves to bring up to date. However, this problem certainly only affects a minority of users. The bottom line is that Eagle Eye Cloud VMS is definitely a recommendable solution.
Annotation:
The manufacturer made the product available to us for this test free of charge and permanently. The report was not influenced by this and remains neutral and independent, without any instructions from third parties. This disclosure is for the sake of transparency.


The days of storing your video surveillance footage on a hard drive or disc may soon be coming to an end—especially if the folks at Eagle Eye Networks have anything…
February 20, 2014
Diebold Inc. and Eagle Eye Networks have formalized a strategic alliance to deliver cloud-based video services... The new offering will stream and store live and recorded video, provide flexible cloud…
February 11, 2015
Eagle Eye’s office expansion is a result of the company’s rapid business growth in the Asia-Pacific region. Austin, TX – Eagle Eye Networks, the leading global provider of cloud-based video surveillance solutions,…
September 17, 2018