

We try to keep our product simple and easy to use. One way we do this is by guiding new installers through the setup process. Below is the new setup process with guided instructions.
When first logging in, you will be prompted to add a bridge.

While the bridge is looking for cameras, it provides the connection diagram from the QuickStart guide.

Once a camera is found, it explains how to add a camera.

When a camera is added, it shows a preview and allows you to configure settings.

Once a camera is added, Layouts appears as an option on the Left side menu. Clicking on Layouts prompts you to create a new layout.

Creating a new layout automatically brings up the add camera dialog. Select your desired cameras.

The end result is a much simpler process for adding a bridge, camera and layout.

Other posts that might interest you

Cloud Video Surveillance Weekly Summary
Eagle Eye Networks now offers a weekly email to our resellers’ administrators that summarizes the status of accounts managed by that reseller. The Cloud Video Surveillance Weekly Summary is an…
December 6, 2018

Loitering Analytic
Loitering detection monitors a defined area and will trigger a loitering event if an object lingers longer than the configured dwell time. Loitering events can also be set up to…
November 29, 2018
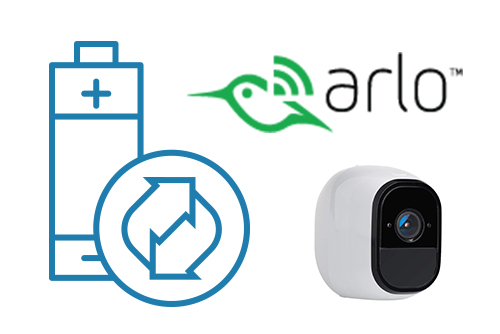
Arlo Flexpower
Have you ever wanted to use battery-operated wireless cameras for professional video surveillance? Sure there are a few wireless cameras, but they require power, which means the camera is still…
September 12, 2018