How to add Cameras to Your CameraManager Account using Plug & Play
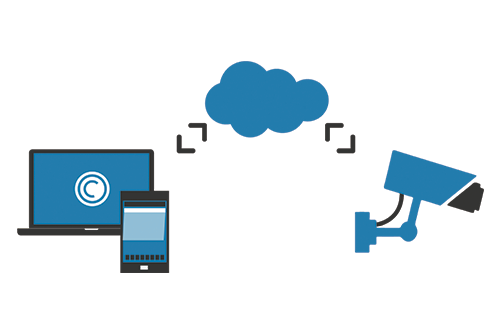
Did you know you don’t need any technical background to add a camera to your Eagle Eye CameraManager account? Our recommended CloudCams all come with Plug & Play functionality. This means the system recognizes cameras and can be added into the Eagle Eye CameraManager account without the need for technical know how.
Using Plug & Play eliminates a lot of worry. For example, with Plug & Play you won’t have to worry about router and firewall configurations, changing Internet providers, etc.
Simply follow the steps below to add a camera to your Eagle Eye CameraManager account using Plug & Play:
- Connect the camera to the router.
- Connect the camera to the power outlet.
- Login using the desktop application or one of our mobile apps.
- Add the camera to your account by clicking on the button Add new camera at the bottom left corner. Select the auto-connect button in the popup to automatically connect a camera.
- Select a Zone.
- After connecting, you can change the name of the camera. Also you are able to change the storage location, set up wireless connection and adjust CLVR areas.
- Press Finish and go live. Your camera is now added to your account.
Watch this video to see how this works.

Contact Us

Since 2012, Eagle Eye Networks has provided smart cloud surveillance solutions, leveraging AI to drive natural language search, automation, and more. Eagle Eye’s camera-agnostic approach heightens security while saving money, time, and resources.
あなたに興味があるかもしれない他の投稿